Hey everyone! If you’ve been following along thus far, you know I recently took the plunge and launched my very own blog. It’s been an exciting journey, and in my previous post, I shared some of the initial steps, including my experience setting up web hosting with Namecheap. Specifically, I touched briefly on configuring my email server with Namecheap to ensure everything was working smoothly.
Now that I have that shiny new cPanel email account, accessing it on my phone is the next logical step for staying connected on the go! Staying connected on the go is essential! Therefore, in this post, I’ll walk you through the simple steps to configure cPanel email account on both my iPhone and Android. Let’s dive in!
Why Access Your cPanel Email on Your Phone?
Before we delve into the how-to, let’s quickly touch on why having our professional email set up on our smartphone is so beneficial.
Firstly, staying responsive is crucial. Whether you’re a fellow blogger, a small business owner, or just want to keep things organized, having your email accessible on your phone allows you to respond to important messages quickly, no matter where you are.
Secondly, seamless integration offers significant advantages. Having your professional email alongside your personal accounts keeps everything in one place, making it easier to manage your communications.
Finally, maintaining a professional image is key, and replying from your domain-based email address reinforces your brand and professionalism, even when you’re on the move.
Prerequisites
“Client configuration settings” email will be sent by Namecheap when a new email account is created. You should find the following crucial information in that email, which you’ll need to configure your email client on your phone. For the most secure connection to your email account, it’s essential that your email server is configured to use SSL/TLS encryption. This protects your email traffic and login details. Consequently, when setting up your phone, you will be using the secure server details provided by Namecheap, often with specific secure port numbers.
- Your Full Email Address: (e.g. user@yourdomain.com)
- Your Email Account Password: Password that you used when you created the email account
- Incoming Mail Server (POP3 or IMAP): Namecheap usually provides these details. You’ll likely have a choice between POP3 and IMAP. If you are interested to know their differences, a quick Google search will return helpful resources.
- Outgoing Mail Server (SMTP):
- Incoming Mail Server Port: (Often 995 for POP3 with SSL, 993 for IMAP with SSL)
- Outgoing Mail Server Port: (Often 465 with SSL)
Setting Up cPanel Email on iPhone (iOS)
iPhone used for this setup is iPhone 13 Pro Max with iOS 18.3.2. Please note that the exact wording and layout might vary slightly depending on your iOS version. In the following steps, I’ll show you how to configure your cPanel email account on your iPhone using the built-in Mail app. Remember to ensure you use the secure server details (hostnames and port numbers, often with SSL) provided in your “Client configuration settings” email from Namecheap.
- Open the Settings app on your iPhone.
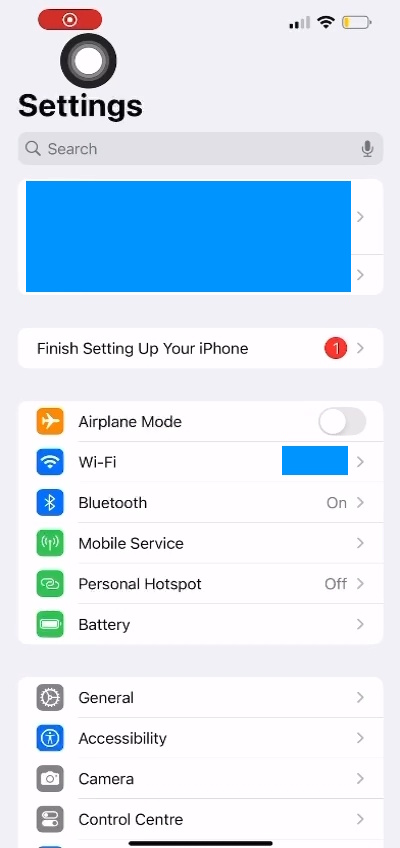
- Then, on the Search bar, type Mail and select the Mail apps

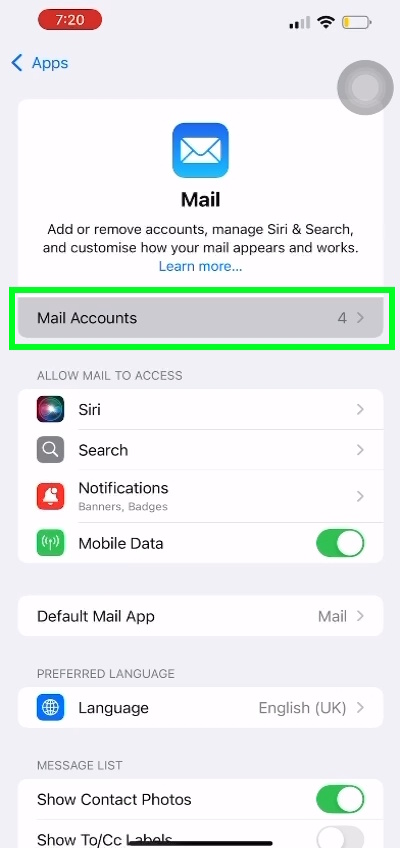
- After that, tap on Mail Accounts.
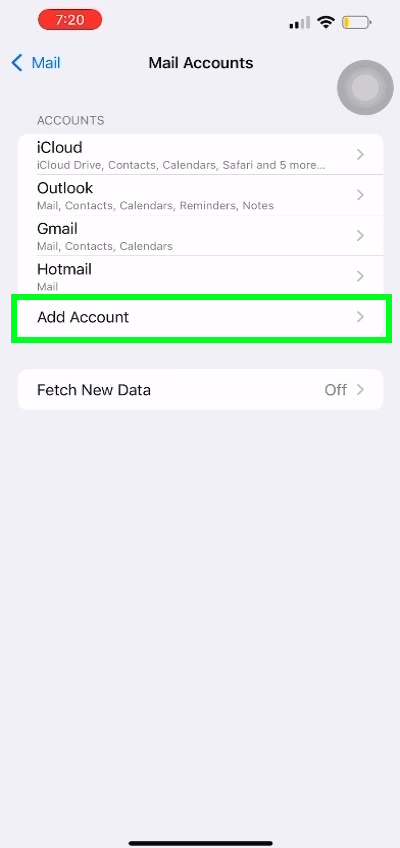
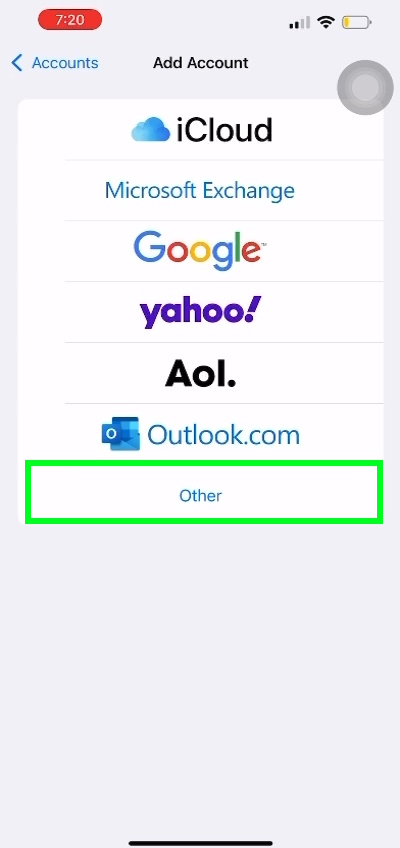
- Next, tap on Add Account.
- Once you’ve done that, choose Other.
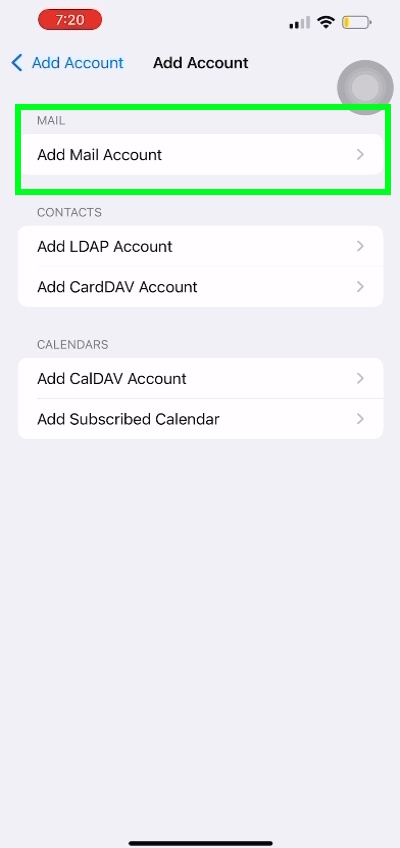
- Following this, tap on Add Mail Account.
- Now, enter your Account Details:
- Name: Your name (as you want it to appear in the ‘From’ field)
- Email: Your full cPanel email address
- Password: Your email account password
- Description: (Optional, e.g., “Work Email”)
- Subsequently, tap Next in the top right corner.
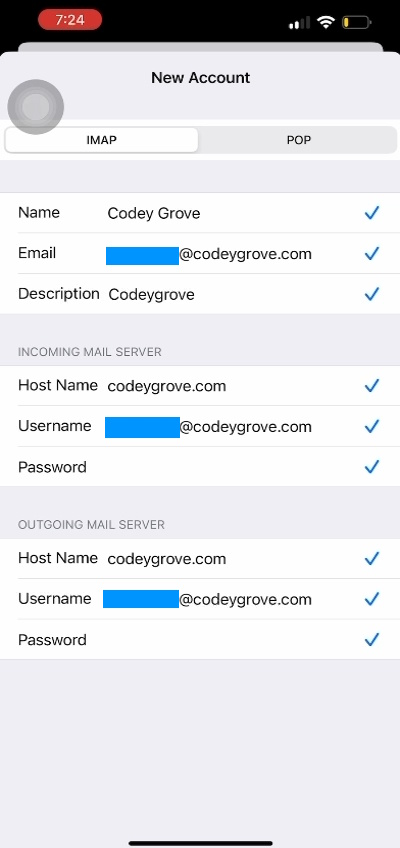
- Then, configure the Incoming and Outgoing Mail Servers. Remember to use the secure server hostnames and port numbers provided in your “Client configuration settings” email from Namecheap. For my iPhone setup, I used IMAP:
- Incoming Mail Server (Host Name): Enter the incoming mail server provided by Namecheap
- Username: Your full cPanel email address again.
- Password: Your email account password.
- Outgoing Mail Server (Host Name): Enter the outgoing mail server provided by Namecheap
- Username: Your full cPanel email address again.
- Password: Your email account password.
- After entering this details, tap Next in the top right corner. Your iPhone will attempt to verify the account settings and you will see something like this if success.
- Finally, on the next screen, you can choose which services to enable (Mail is the essential one). Tap Save.
- You new email account will be added to the Mail app
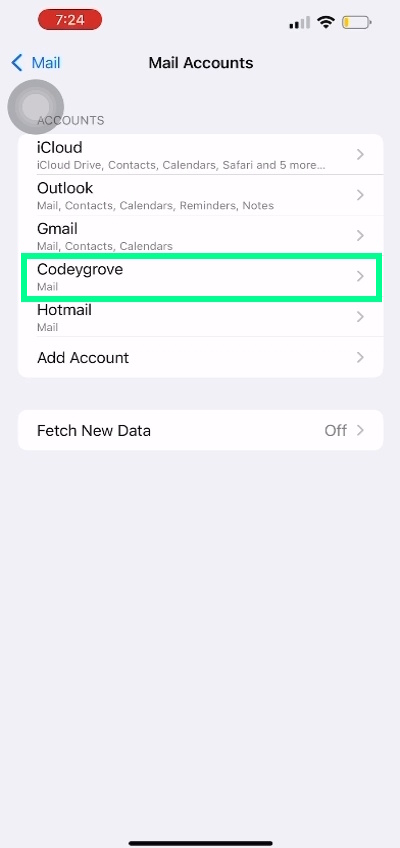
Once you’ve completed these steps, your cPanel email account should now be set up on your iPhone! You can access it through the Mail app.
Setting Up cPanel Email on Android
Now, let’s move on to Android. The Android device used in this setup is an Oppo R17 with Android 10. The exact steps might vary slightly depending on your Android device’s manufacturer and version, and the specific email app you are using. This guide focuses on the Gmail app. Therefore, make sure you are using the secure server details (hostnames and port numbers, often with SSL) provided in your “Client configuration setting” email from Namecheap.
- To begin, open Gmail app on your Android device.
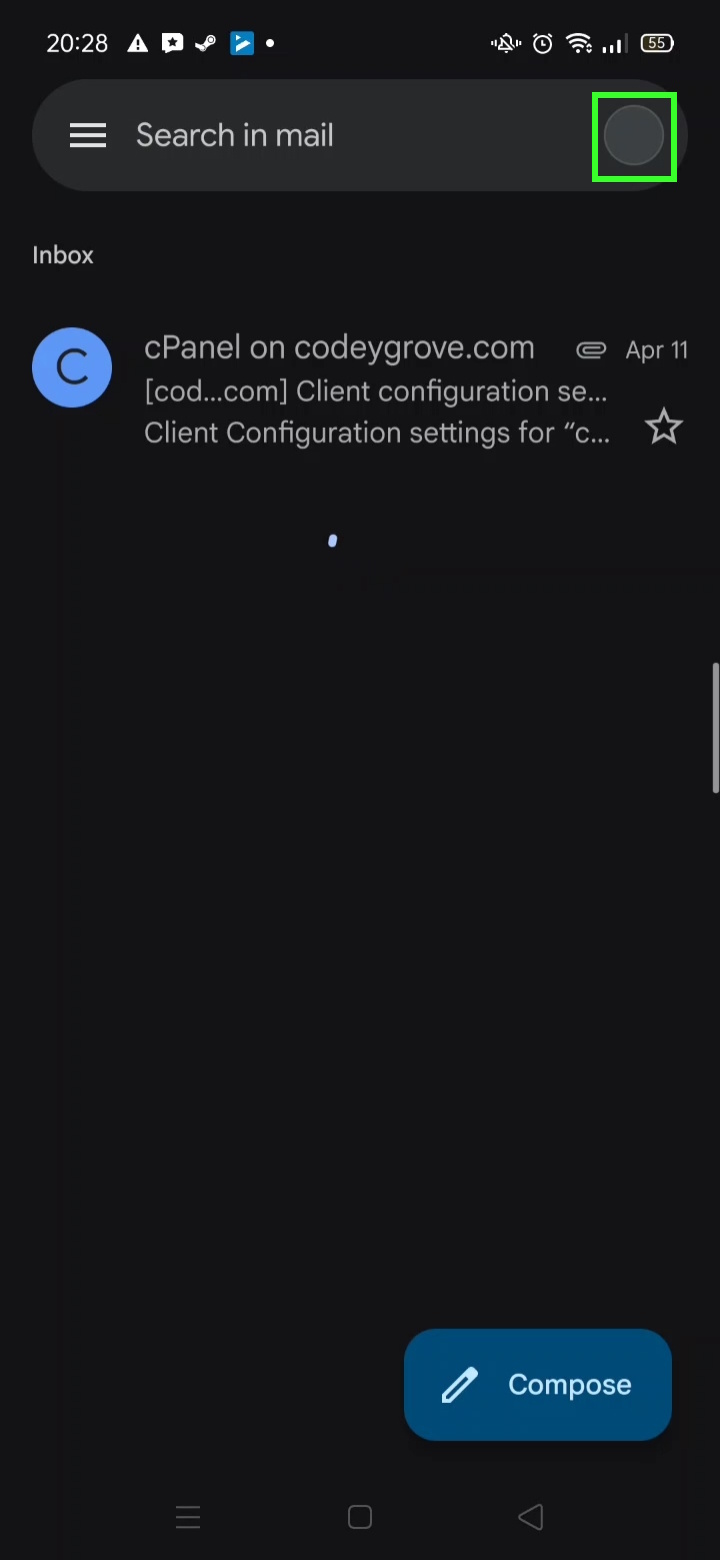
- Next, click on your Google Account at the top right corner of Gmail app
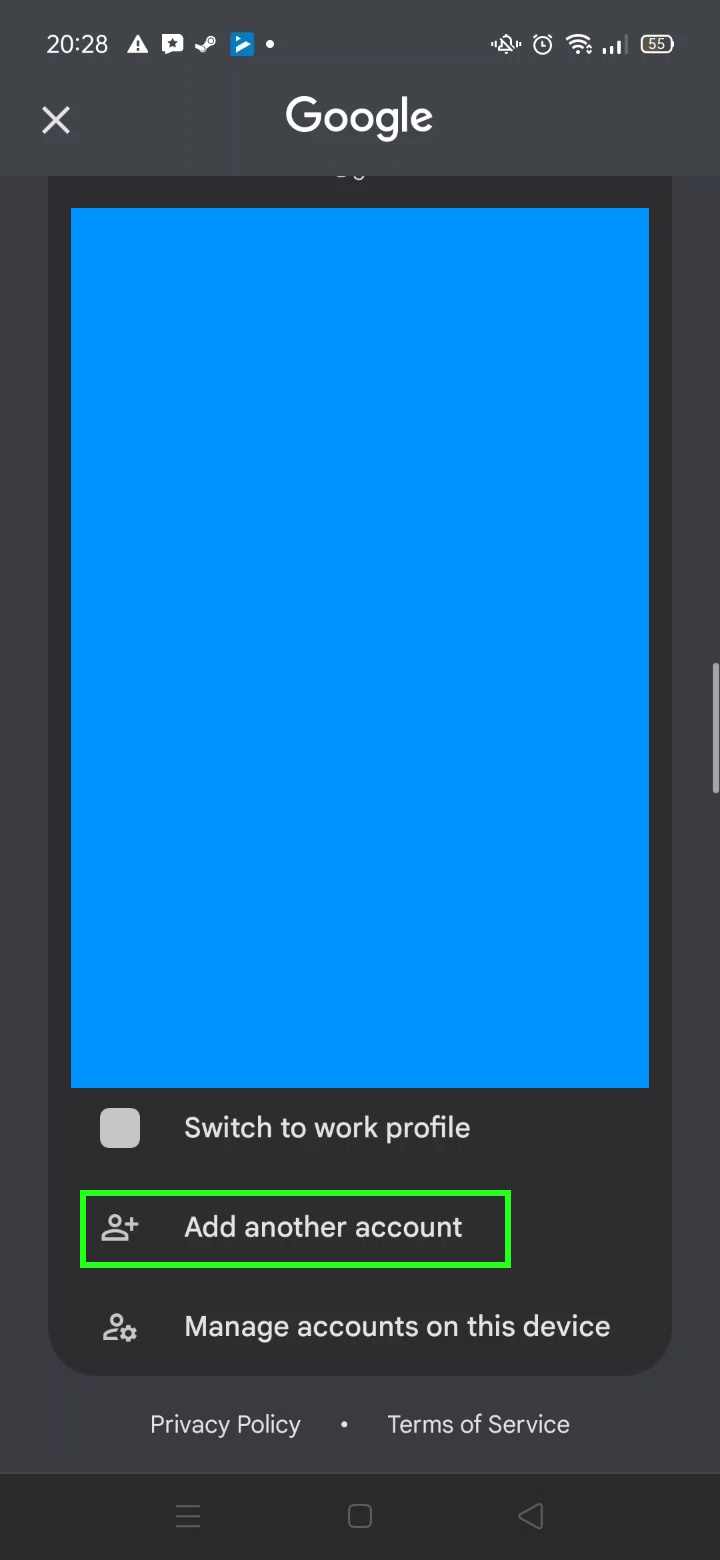
- Then, tap on “Add another account” (It is right at the bottom, after all email accounts)
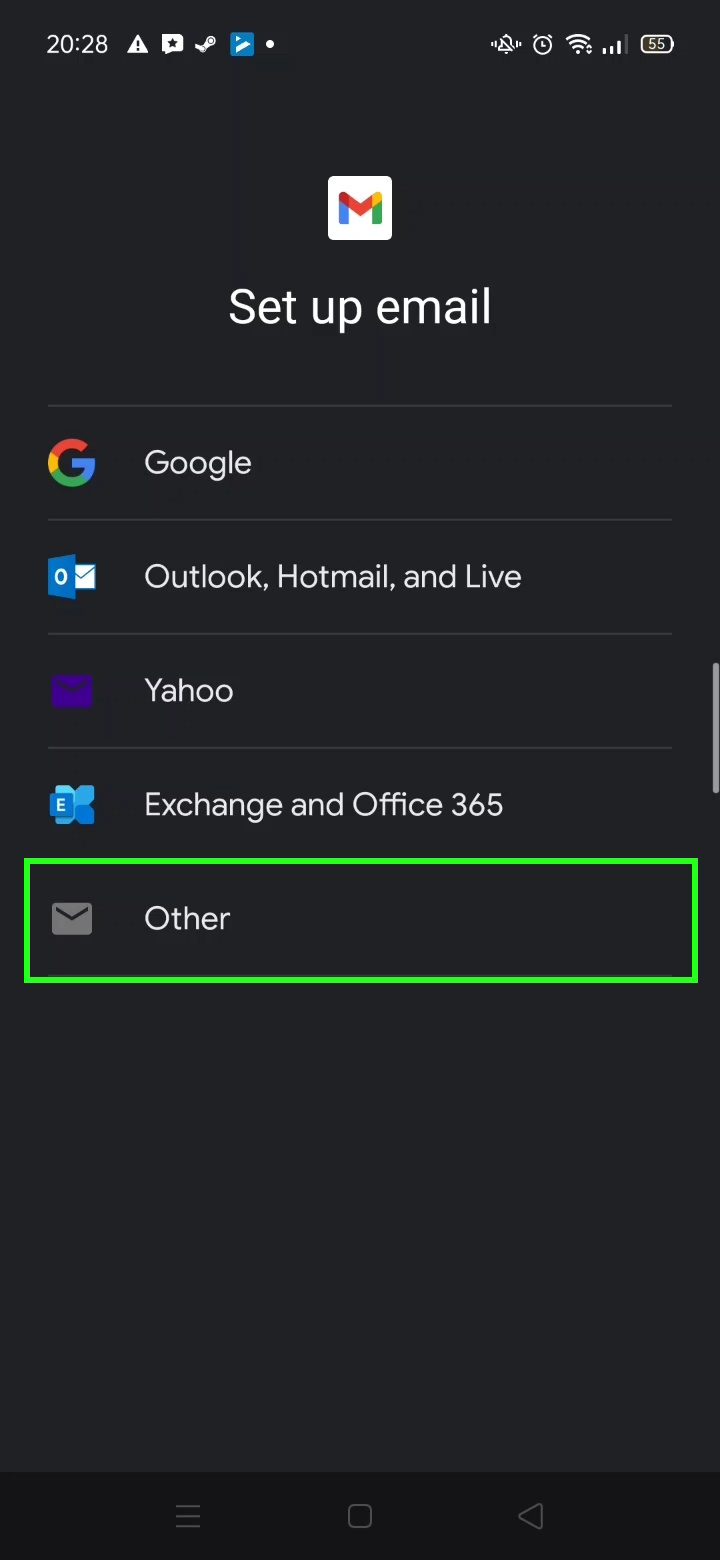
- On the “Set up email” screen, select Other
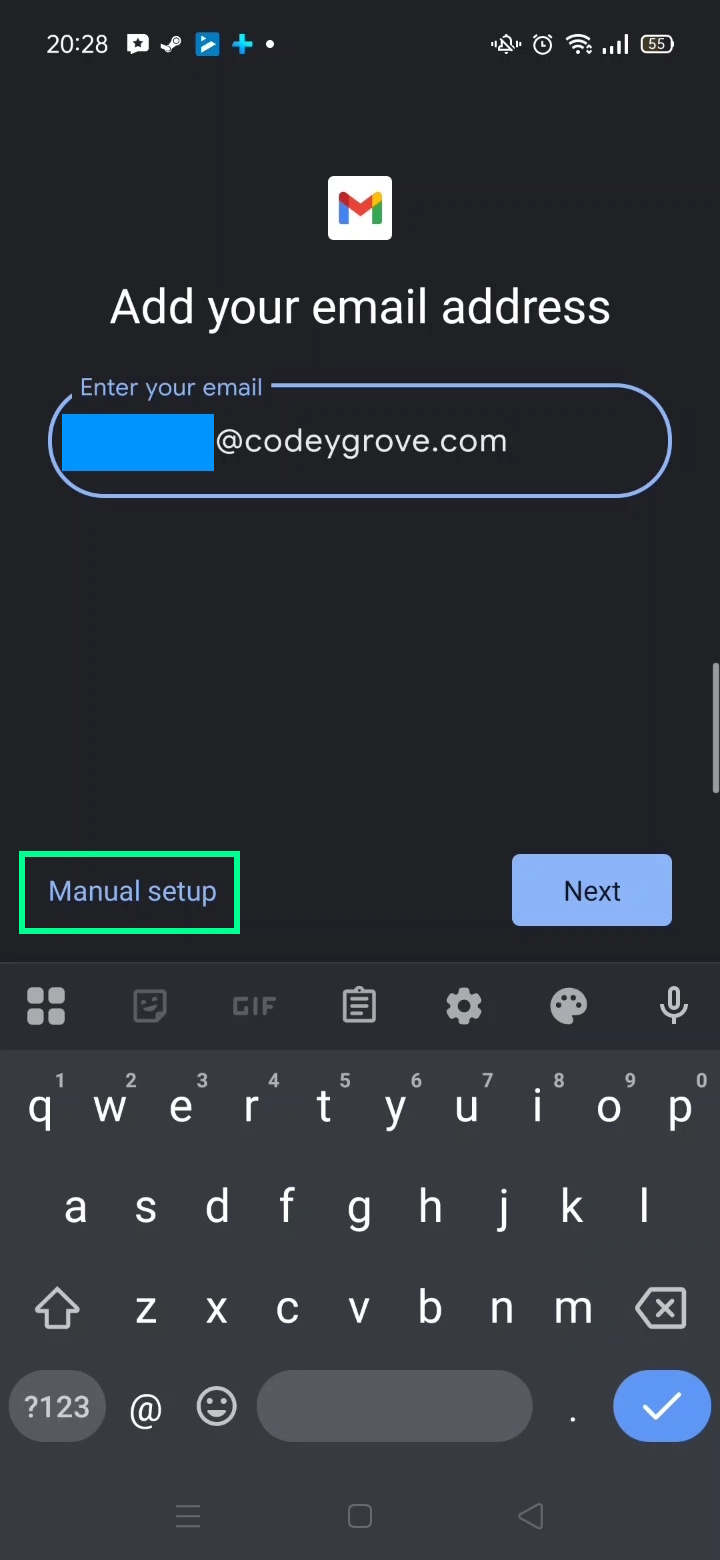
- After that, enter your Email address and tap “Manual setup“.
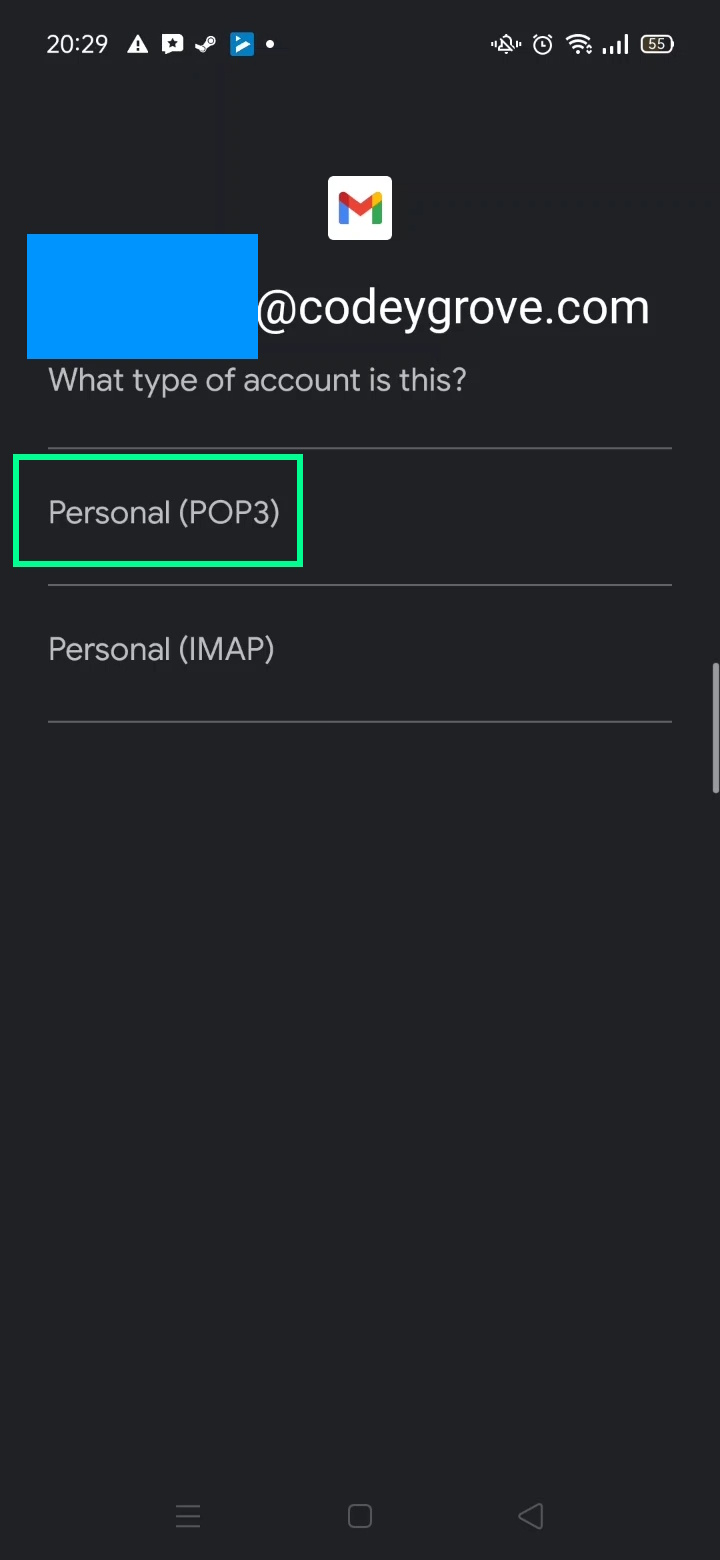
- Subsequently, you will be prompted to choose your account type. Select POP3.
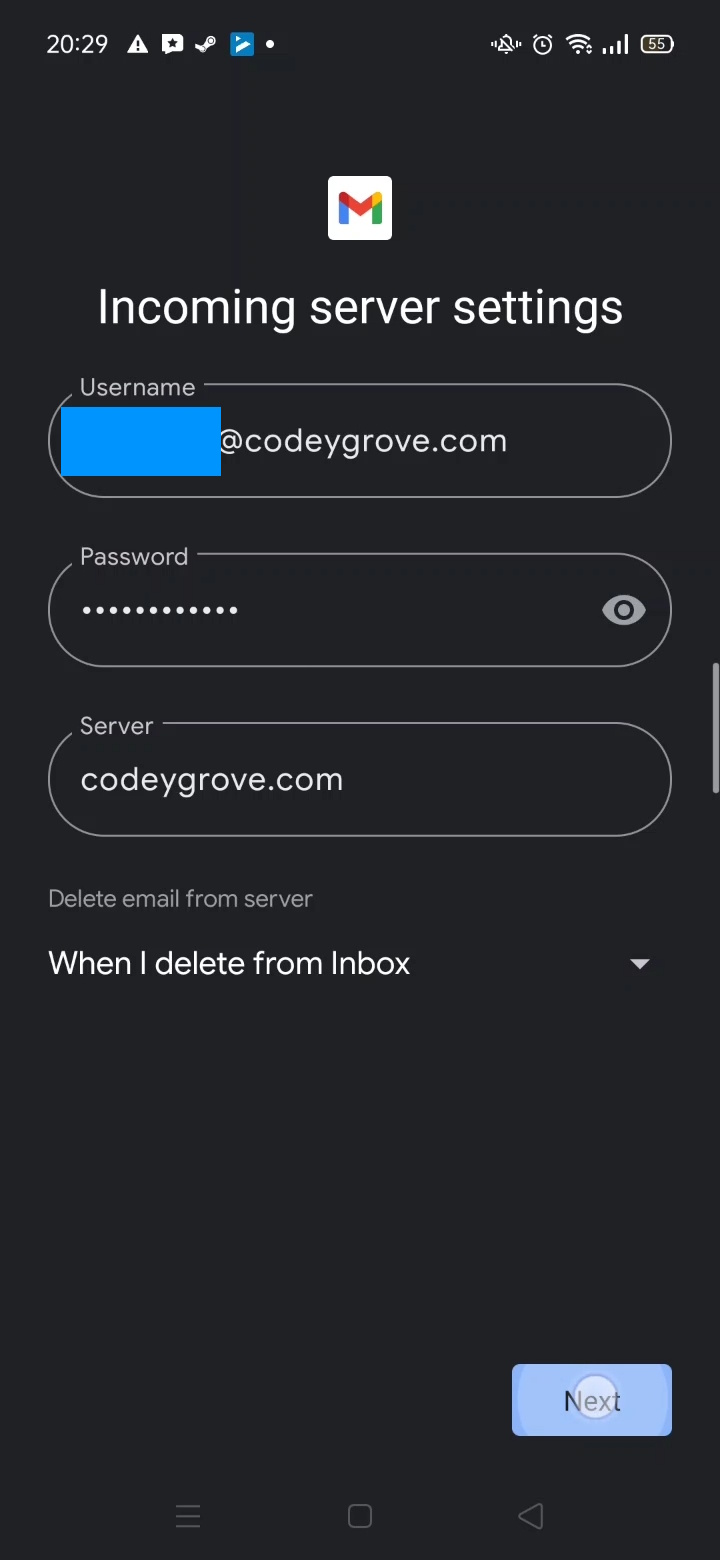
- Now, you’ll need to configure Incoming Server Settings:
- Username: Your full cPanel email address.
- Password: Your email account password.
- Server: Enter the incoming mail server provided by Namecheap (you can find the server name in “Client configuration setting” email).
- Once you’ve entered these details, tap Next.
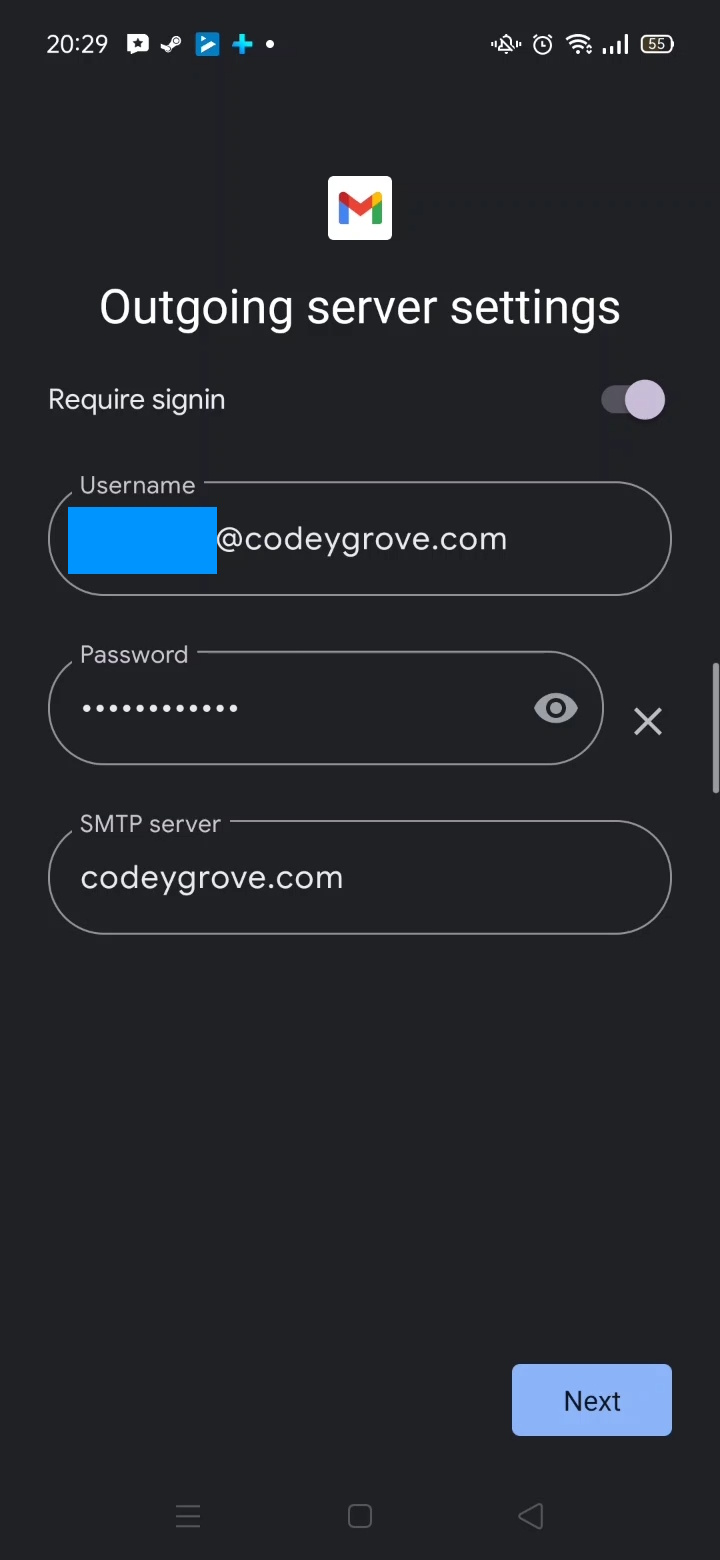
- Following that, you’ll need to configure Outgoing Server Settings:
- Username: Your full cPanel email address.
- Password: Your email account password.
- SMTP server: Enter the outgoing mail server provided by Namecheap (you can find the server name in “Client configuration setting” email).
- Following this, tap Next.
- You might then be asked about account options (sync frequency, etc.). Configure these to your liking and tap Next.
- Finally, give your account a name (optional) and enter the name you want to appear on outgoing messages. Tap Next or Done.
With these steps completed, your cPanel email account should now be set up on your Android device! You can double confirm it by going to “Gmail App ==> Google Account”
Troubleshooting Tips
Sometimes, things don’t go exactly as planned. In such instances, here are a few common issues and troubleshooting tips:
- Incorrect Password: Double-check that you’re using the correct email account password. You can usually reset it within your cPanel.
- Incorrect Server Details: Ensure you’ve entered the incoming and outgoing mail server addresses and ports exactly as provided by Namecheap. A small typo can cause connection issues.
- Contact Support: If you’ve tried the above steps and are still having trouble, don’t hesitate to reach out to Namecheap’s support team. They are usually very helpful in resolving email configuration issues.
Conclusion
In conclusion, setting up your cPanel email account on your iPhone and Android devices doesn’t have to be complicated. By following these steps, you can stay connected to your professional communications wherever you go.
I hope this guide was helpful for you. If you have any questions or run into any snags, feel free to leave a comment below!

Leave a Reply