Finally, after a month of relentless dedication, my first blog post is up. While things are still fresh in my head, I want to share my journey with anyone thinking of embarking on this journey too. It started with one fine day on the first day of the new year… But who am I kidding? The real spark was the need for a side hustle due to the cost of living.
In this post, I will not go into detail but rather share the link that really got me going. To sum it up, these are things that I did and questions that I need to answer:
- Foundation & setup
- What is the blog’s focus?
- Should I have my own domain or use Blogger to start with?
- Where should I host it?
- Admin related task after buy a hosting plan (ex: Email, SSL, etc)
- Install CMS
- Website identity & initial presence
- Setup Under Construction page
- Do I need a logo?
- Choose CMS theme
- Essential pages & compliances
- Create “About Us” and “Contact Us” page
- Think long and hard for “Privacy Policy”
- Cookies Banner for consent
- Start creating my first post
- Other things to know or do
I spend about 1 – 2 hours during the weekday and 2 – 3 hours during the weekend before my first post is up. With that, let’s dive in.

Foundation & Setup
Most of my time was spent in this phase. Right from the start, I had to figure out the essential groundwork. Here’s what I learned about the initial setup and the questions I grappled with.
Step one, throwing my content thoughts at anyone who’d listen (and some who wouldn’t). Following that, I dove into research on the practicalities of starting a blog, including potential costs. And before diving headfirst, a quick peek at the ‘blogging ain’t all sunshine and rainbows’ articles, like this and this, was probably smart. It turns out that blogging has its downsides. My reaction? Slap on the ‘mostly ignore’ truth filter and charge ahead!
Okay, brain kind of sorted (ish). The big question time is free Blogger or actually pay for this thing? FREE is always tempting and Blogger was looking good until I heard Google might ditch it like a bad habit. So, yeah, the fear of Google pulling the plug won. So, out came the wallet after reading this convincing article.
Since I have decided to part with some ‘mula’, next in my mind is the domain name. Generative AI, like ChatGPT or Gemini, are really helpful during this stage. Give them the context and content that I am planning to write, they generated some ideas to play around with. It is always good to register your domain once you have one and it is still available. I registered https://www.codeygrove.com with Namecheap separately from the hosting plan.
For anyone who’s never set up a web server before, getting one ready for your blog can be quite daunting. If you use Namecheap, their knowledgebase and friendly support team is your partner to get your foundation ready.
Connect Domain to Server
Since I registered my domain with Namecheap prior to having any hosting plan, I need to do additional steps to linked it to the server. If the domain name is registered along with the hosting plan, they are automatically linked. These two knowledgebases help me to cross this task off my list.
- https://www.namecheap.com/support/knowledgebase/article.aspx/9837/46/how-to-connect-a-domain-to-a-server-or-hosting/
- https://www.namecheap.com/support/knowledgebase/article.aspx/897/29/how-to-create-an-addon-domain/#nameservers%20change
Email Server Setup
I bought “Stellar” Shared Hosting plan from Namecheap and it comes with 30 Mailboxes. It is good to mention that Namecheap has 2 different email services, cPanel (the one in “Stellar” plan) & Private email. You can compare the plan in https://www.namecheap.com/support/knowledgebase/article.aspx/9193/2179/differences-between-namecheap-private-email-and-cpanel-email/. I was a bit confused by the two different email services Namecheap offers, so I reached out to their friendly support. Here’s what we did to get my email server running:
- Change the nameservers for codeygrove.com to Web Hosting DNS. (guide)
- Delete the MX records with values ‘mx1.privateemail.com‘ and ‘mx2.privateemail.com‘ in Zone Editor. (guide)
- Set the email routing in cPanel to Local Mail Exchanger. (guide)
- Install SPF and DKIM records in “cPanel > Email Deliverability” menu. (guide)
Getting your email server set up is just the first part! To help you stay connected and manage your emails conveniently from your mobile device, I’ve created a new guide detailing the simple process of setting up your Namecheap cPanel email on both iPhone and Android. Read the full article here: https://www.codeygrove.com/blogs/technology/unlock-your-inbox-setting-up-namecheap-cpanel-email-on-iphone-and-android/
SSL Configuration
If you are new to SSL, Namecheap summarized the advantages of SSL. The “Stellar” plan comes with 1 year free Positive SSL. But if your site needs to have subdomains, it might be good to consider Positive SSL Wildcard. To activate SSL in Namecheap:
Install WordPress
Last but not least, install WordPress on web server. If WordPress is not your go to CMS, you can install other CMS, like Joomla, from Namecheap Softaculous Apps Installer.

Website Identity & Initial Presence
Moving beyond just making the blog work, I then started to explore the visual side – logos, themes, and that all-important ‘Under Construction’ page. As an engineer, I discovered that ‘making it work’ is only half the battle; making it look good is a whole different engineering challenge I wasn’t prepared for. If your design process is like me, optimizing for “existence” rather than “elegance”, you probably won’t spend too much time in this stage.
AI Image Generator, like Canva, is tremendously helpful when it comes to creating a logo. I just need to provide some context about my blog to Canva and it generates the logo that I can customize to my need. As for WordPress theme, after reading this guide, I went with something simple and minimalist. It is also important to preview your theme in all screen sizes (i.e.: mobile, tablet, etc.) and possibly on popular browsers too.
Last but not least, while you are working on your content, configure “Under Construction” page to show that you have something exciting in the works. It also can be used in the future in the event of maintenance. There are numerous WordPress plugins to help you create “Under Construction” page.
While having a visually stunning website isn’t critical for me at this initial stage, but it does not mean that it is not important in the long run. Hence, need to keep doing incremental improvement around website identity.
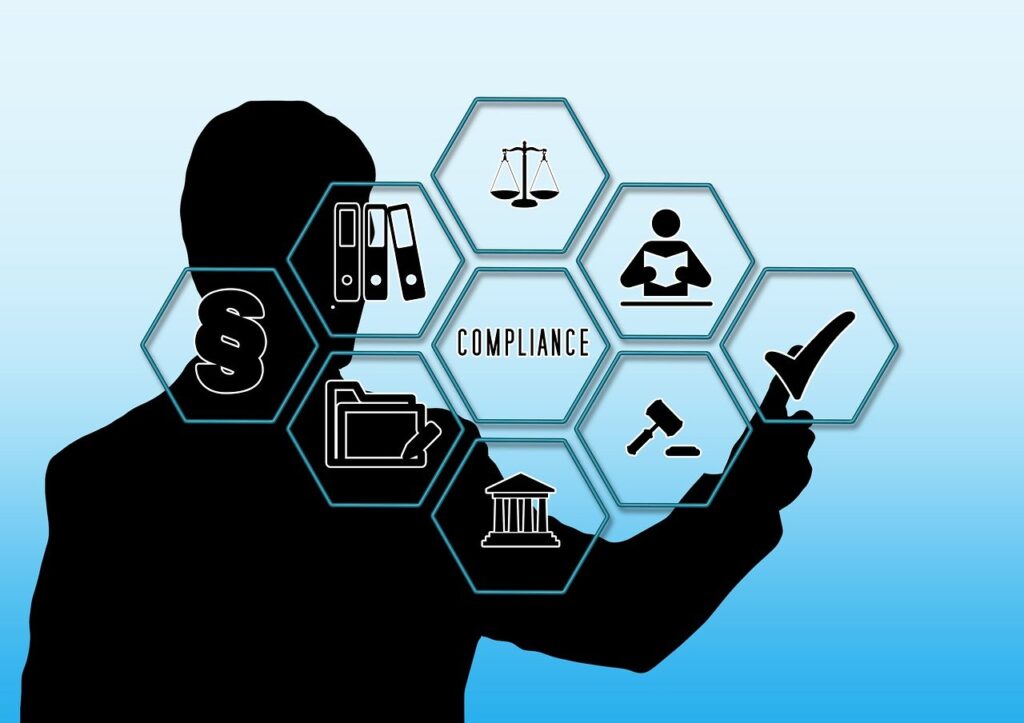
Essential & Compliances Pages
For me, creating essential pages are pretty straight forward. “About Us” to briefly summarize my intention for this personal blog and “Contact Us” for public users to reach out to me which I created following this “How To” guide.
However, compliance pages gave me a lot to think and consider. If you are new to setting up a website, even only a personal blog, you might be overwhelmed by these compliance laws. For example, if your website is offering goods or services to those located in the European Union or UK, you must comply with the privacy laws generated by the General Data Protection Regulation. Since I am not a lawyer nor an expert in this space and I do not want to oversimplify these laws, it is better to Google “Website Compliance Law” or reach out to a lawyer if really need to.
Now, if you are like me, have no idea what is compliance law even after research, “Online Privacy Policy Generator” is just Google away. Once a draft policy is created with online generator then I used Gen AI to customize it. While it is not perfect, I will need to review it regularly to ensure compliance or when I offer new services on my blog. For example, if I decided to provide eCommerce in the future.
One of the crucial item under compliance law is “Cookie Requirements”. Under the GDPR, EU Cookie Law, CCPA, and CPRA, you are legally required to inform users of how you use the cookies you collect. This link, https://gdpr.eu/cookies/, provides information about type of cookies, compliances, directive and regulation. While I am still working on my “Cookie Policy”, at minimum I created “Cookie Banner” to get users consent for analytics purposes. WordPress provides easily configured plugins that you can install on your website. Similar to “Privacy Policy”, I need to review this banner as and when a new plugin is installed that required cookie to work correctly.

Create My First Post
I was relieved to finally move past the compliance hurdles, and creating my first blog post was exciting! I went into writing it thinking, ‘Piece of cake!’ Yeah, reality had other plans. As WordPress first-timer, a lot of reading is required to navigate the learning curve. WordPress.org provides comprehensive guides for new users and it also provides “Learning Pathways” to get you up to speed. As for me, I started with Gen AI and Google for my first post and slowly progress from there.
Block Editor
WordPress has two types of editor for us to work on our content, Classic and Block. With latest WordPress installed, by default, it is using block editor. Block editor offers an array of blocks that can be used to create media-rich pages and posts. As first time user, block editor definitely makes content creation easier. But if some plugins are installed with WordPress, good to know which blocks are part of plugins.
Site Editor
I initially didn’t pay much attention to the Site Editor, but I soon learned its potential for customizing my entire site with Block themes. Keep in mind that Site Editor is only available when you install and activate a Block theme on your site. Even though I came across it when preparing for my first post, I didn’t pay notice to its usefulness. As a result, I spent hours trying to tinker with template and styling. If you are just starting with Block theme WordPress, understanding of Styles, Templates and Patterns will be beneficial in the long run.
Permalinks
Permalinks are the permanent URLs to your individual pages and blog posts, as well as your category and tag archives. A permalink is the web address used to link to your content. The URL to each post should be permanent and never change — hence the name permalink. It can be configured from “Settings – Permalinks” screen. WordPress also provides some example in “Customize Permalinks” article.
I used Custom Structure for my permalink with value of “/blogs/%category%/%postname%/“. For my first post, https://www.codeygrove.com/blogs/technology/beyond-fifo-what-i-learned-about-azure-service-bus-message-sessions/, “technology” is the post category and the rest is the post name. Clicking on “TECHNOLOGY” in the article, it will direct to https://www.codeygrove.com/blogs/category/technology/ and while clicking on one of the tags, it will direct to https://www.codeygrove.com/blogs/tag/asyncapi/. And since we are in the topic of category and tag, refer to these links for more information.
- https://learn.wordpress.org/tutorial/categories-vs-tags-whats-the-difference/
- https://wordpress.com/support/posts/categories-vs-tags/
- https://www.wpbeginner.com/beginners-guide/categories-vs-tags-seo-best-practices-which-one-is-better/
Other Things To Know or Do
In addition to four key stages above, there are additional tasks and resources that are worth mentioning.
- Bookmark some photo stock sites that offer free images (if you are poor like me) like https://zapier.com/blog/best-free-stock-photos/.
- Basic understanding of “Template Hierarchy” helps me to create a separate page for category and tag permalinks as mentioned in Permalinks section.
- Activate Akismet – anti spam plugin for comments and contact us form.
- Remove Website field from comment form to prevent spam
- Configure Google Analytics using MonsterInsights
In Conclusion
It has been fruitful one month for me and there are still many things in WordPress for me to unpack. As what Nelson Mandela said “It always seems impossible until it’s done”, I hope my learnings could give some insights to anyone who is thinking of or in the midst of working on their first WP website. If this helped even a little bit, share it with another newbie blogger! We’re all in this together.
Leave a Reply